Whether you're swapping out a dead battery for a new one, giving your ride some TLC, or just making sure things stay safe, knowing how to disconnect and connect your battery is essential for DIY battery maintenance. We'll review how to disconnect and connect your vehicle's battery safely and other considerations to remember before tackling this job.
Considerations to Keep in Mind
Before you get into the nitty-gritty of this process, there are a few considerations you need to keep in mind:
- Safety: We can’t stress this enough — safety should be your number one priority! If done incorrectly, disconnecting, and reconnecting your battery can cause physical injury. Additionally, it can permanently ruin your battery, destroy your vehicle's onboard computers, and/or blow fuses.
- Battery Type: Before starting the process, determine the type of battery your vehicle needs. Installing an incorrect battery can lead to numerous functional failures. For example, an undersized battery may not provide enough power for your engine, causing potential ignition and starting problems. Always refer to your owner’s manual for specifications on the type of battery your vehicle requires.
- Tools and Equipment: Wear protective gloves, aprons, and goggles to shield yourself from potential hazards. Also, you’ll likely need a socket wrench or wrench kit to safely disconnect or reconnect your battery.
- General Guidelines: It’s important to note that the steps below are just general guidelines. Always consult your owner’s manual for specific instructions for your vehicle and additional equipment you may need. If you’re unsure, don’t hesitate to take your vehicle to a professional for some automotive reinforcement.
How to Disconnect a Car Battery
Ready to disconnect your battery? Here’s what you need to do:
1. Turn Off the Engine
Begin by turning off your engine and removing the keys from the ignition. Attempting to disconnect the battery with the engine running could cause bodily injury and vehicle damage!
2. Locate the Battery and Terminals
In most vehicles, the battery is in the engine compartment. However, some cars have batteries in the trunk or under the rear seat. Consult your vehicle's manual to determine the battery’s exact location.
After you locate the battery, look for the battery terminals. The negative terminal should display a negative symbol (-) and usually has a black-colored cable, while the positive terminal should have a positive symbol (+) and usually has a red-colored cable.
3. Disconnect the Negative Terminal
It’s important to disconnect the negative terminal first to prevent any electrical shorts. Use your wrench to loosen the nut or bolt securing the terminal. After it’s loose, carefully lift the cable off the battery post and set it aside.
4. Disconnect the Positive Terminal
Repeat the same process as Step 3 but for the positive terminal. Ensure that the positive and negative terminals don’t touch each other or any metal surface. NOTE: Isolate the positive cable end by wrapping it in a non-conductive material such as a towel.
5. Loosen and Remove the Battery Hold-Down
The battery hold-down holds the battery in place while driving the vehicle. Locate the fasteners and loosen or remove them as necessary with your wrench, then remove the battery hold-down.
6. Remove the Battery
Carefully remove the battery and ensure it remains level as you pull it out from the vehicle to prevent battery acid from spilling. Also, be mindful of its weight. Car batteries can weigh 40 pounds or more, so lift with your legs to help avoid back injury. After you remove the battery, set it on a dry, flat surface.
How to Reconnect a Car Battery
Whether you’re replacing your car battery or putting your existing battery back into your vehicle, here’s how you reconnect it.
1. Inspect and Clean the Terminals
Inspect your terminals. Are they looking a little dirty or corroded? If so, you can clean them using a mixture of baking soda and water. Gently scrub the cables and terminals with a wire brush or toothbrush dipped in the mixture to remove any build-up. Rinse the terminals with clean water and dry them thoroughly before reattaching them.
2. Install Battery
Lift the battery, keep it level, and place it into the battery tray. Then, reinstall the battery hold-down and tighten the fasteners with your wrench.
3. Reconnect the Terminals
Start by attaching the positive terminal first, followed by the negative terminal. Slide the terminals onto the battery posts and securely tighten the fasteners using a wrench or socket set. Ensure that the terminals are snugly attached to prevent any loose connections.
4. Test the Battery
Now, it’s the moment of truth! Start the car and check if everything is functioning properly. Test the headlights, horn, and other electrical components to ensure they work as expected. If there are any issues, double-check the battery connections and make sure they’re secure.
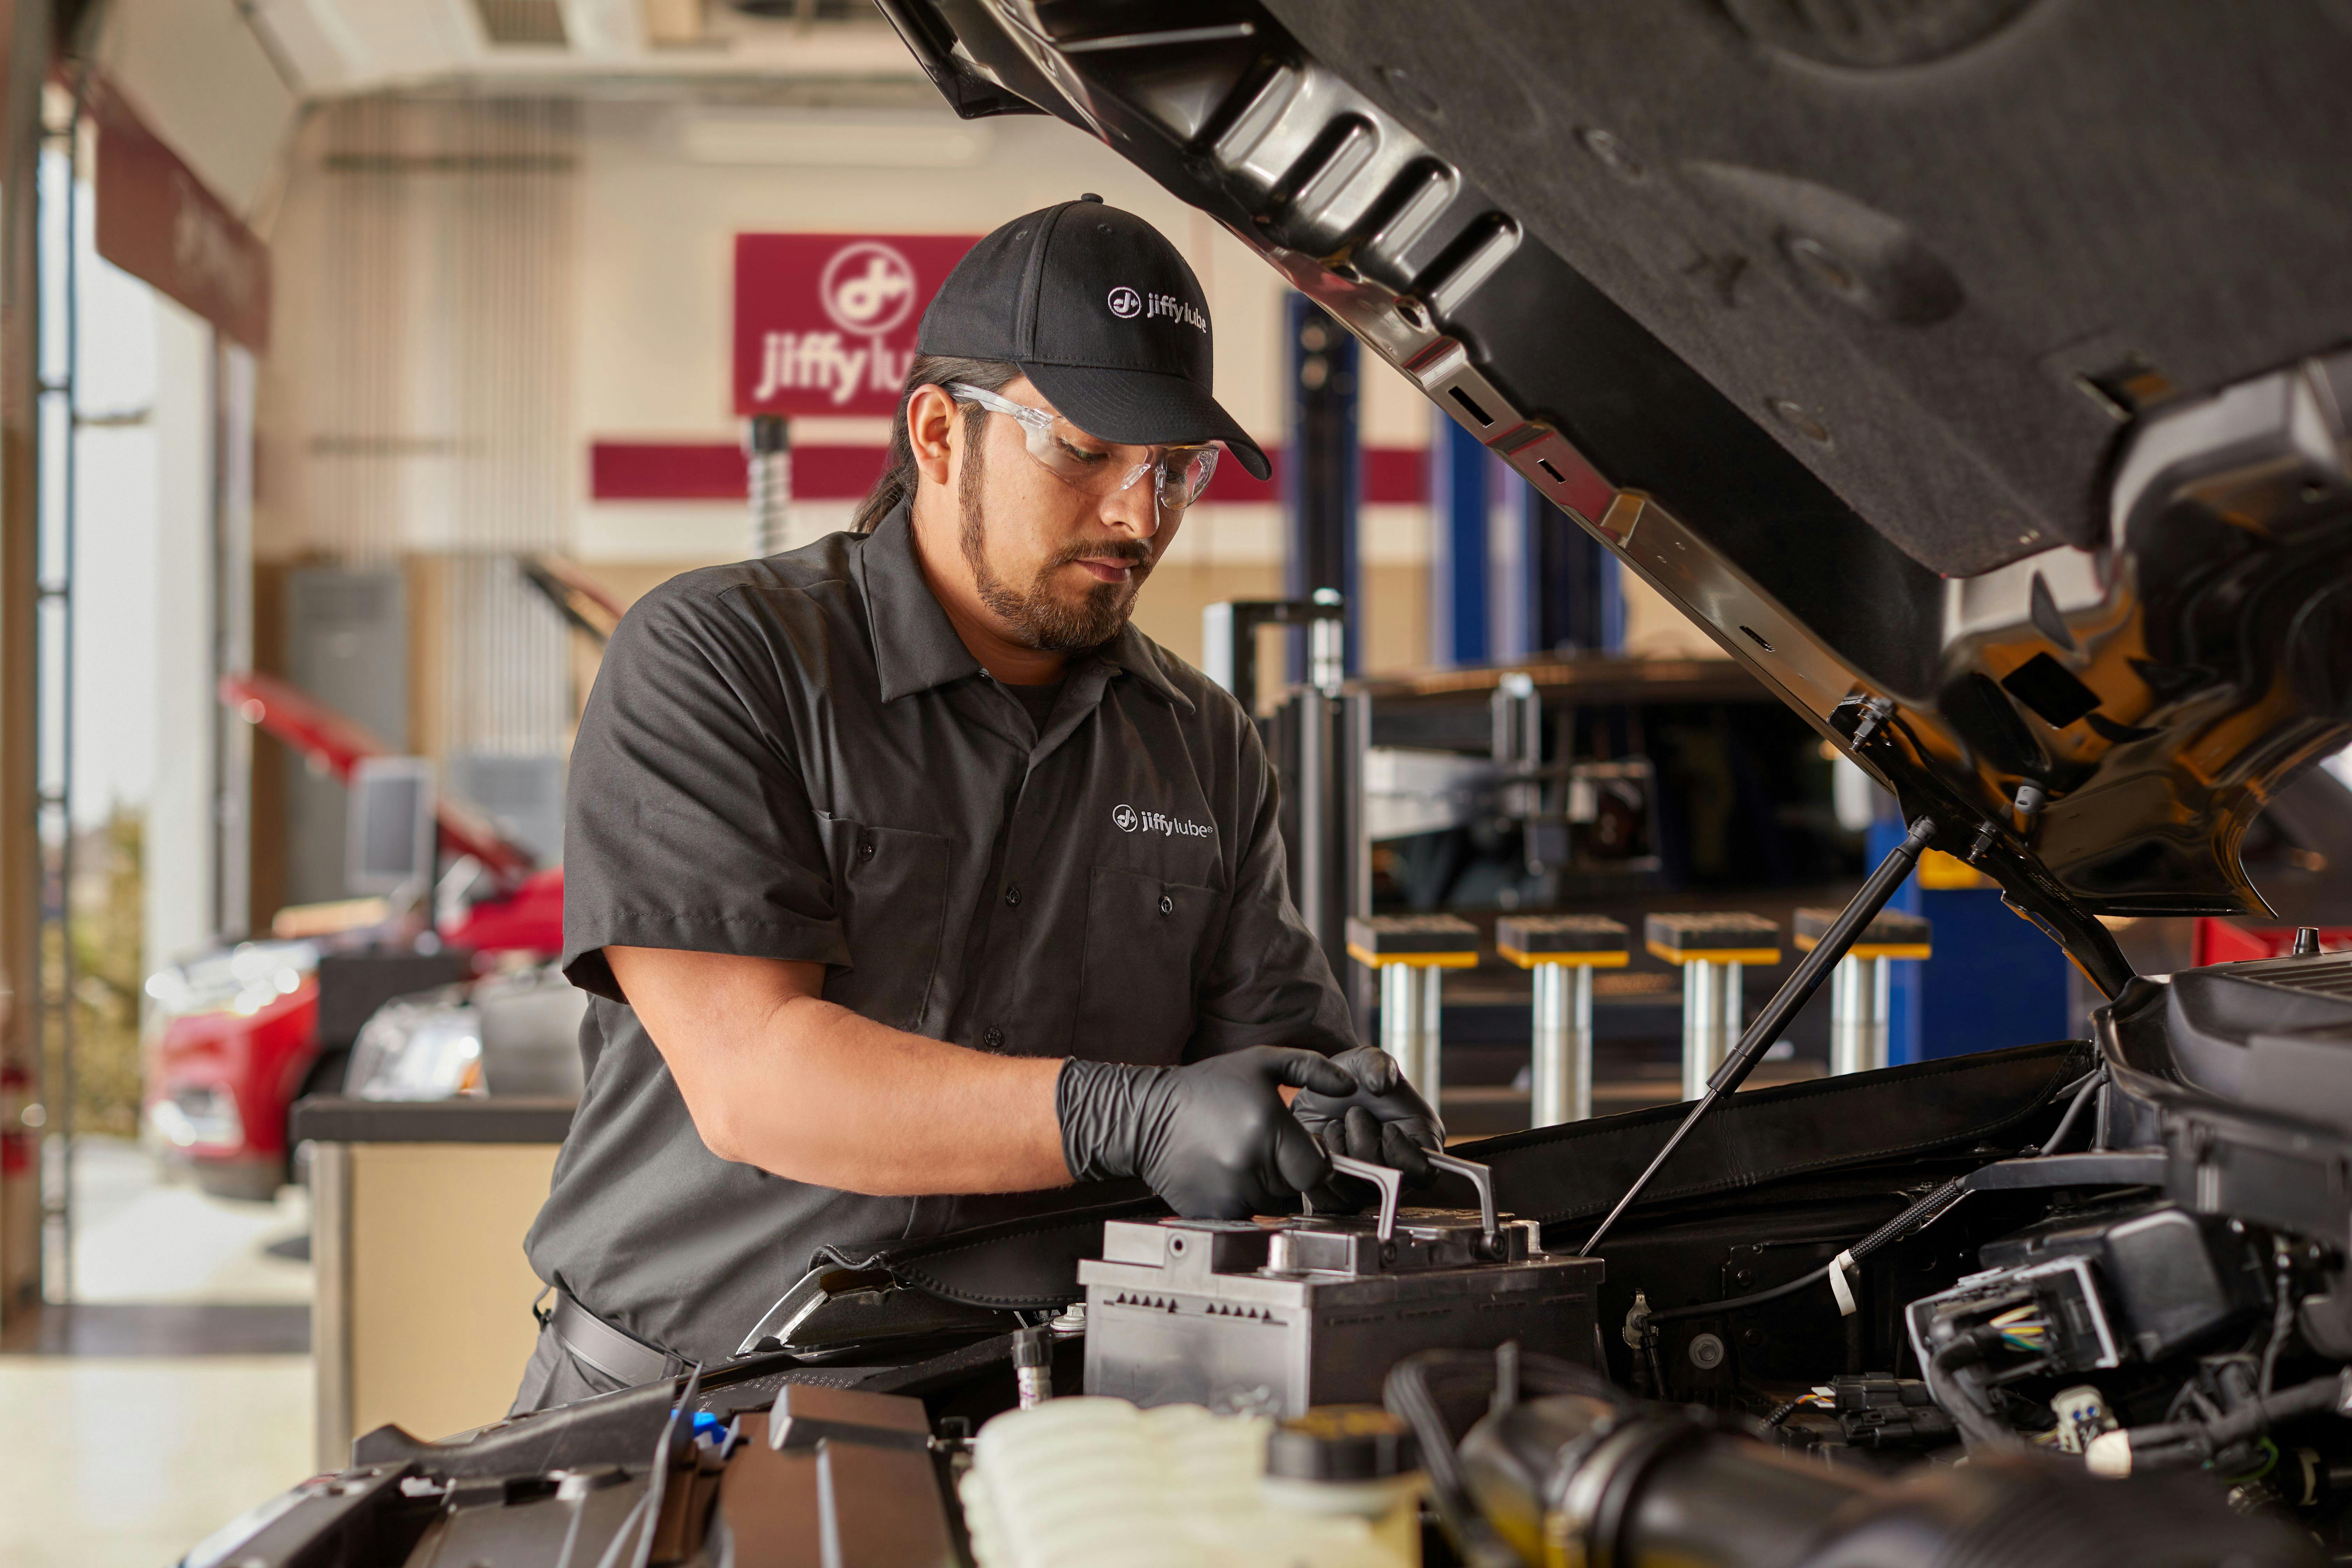
Need a Battery Replacement? Stop by Your Local Jiffy Lube
Sure, you can disconnect and reconnect your battery, but wouldn’t it be easier — and safer — to leave it to the professionals? Stop by your local Jiffy Lube® for your vehicle’s battery maintenance. Whether you need your battery tested, a replacement battery, or your battery terminals cleaned, our trained technicians will be more than happy to diagnose your issue and get you back on the road in no time.
Get a Vehicle Service Estimate
NOTE: Not all services are offered at all Jiffy Lube service centers. Please call ahead or check jiffylube.com to ensure the service is available at the Jiffy Lube location near you.
Related Resources

Battery Light On In Car: What It Means
Like most drivers, you probably spend more time thinking about road trip playlists than you do about your car’s battery. But when the battery light on car turns on, you need to know how to respond. Here ...

How To Jump Start A Car With Cables
If it has ever happened to you, you won’t forget it. You turn the key in the ignition or press the start button and … nothing. The battery is dead, and you feel helpless. But you aren’t helpless because ...

Get Charged Up About Your Battery
Want to avoid the stress and inconvenience of a jump start or tow? Of course you do! A great way to do that is to be aware of the signs of a dead battery and follow routine maintenance so your current ...